Christmas is a time of joy, celebration, and creativity. One of the most cherished symbols of the season is the Christmas tree. Whether you’re an aspiring artist or just looking to add a personal touch to your holiday decorations, learning how to draw a Christmas tree can be a delightful and rewarding experience. In this guide, we’ll explore the art of Christmas tree drawing, providing you with detailed instructions, tips, and inspiration to create your own festive masterpiece.
Key Takeaways
- Understand the basic elements of a Christmas tree drawing.
- Explore different styles and techniques to enhance your artwork.
- Learn step-by-step instructions for drawing a Christmas tree.
- Gain insights into adding details and personal touches to your drawing.
The Basics of Christmas Tree Drawing
Before diving into the drawing process, it’s essential to understand the fundamental components that make up a Christmas tree. Typically, a Christmas tree drawing consists of the following elements:

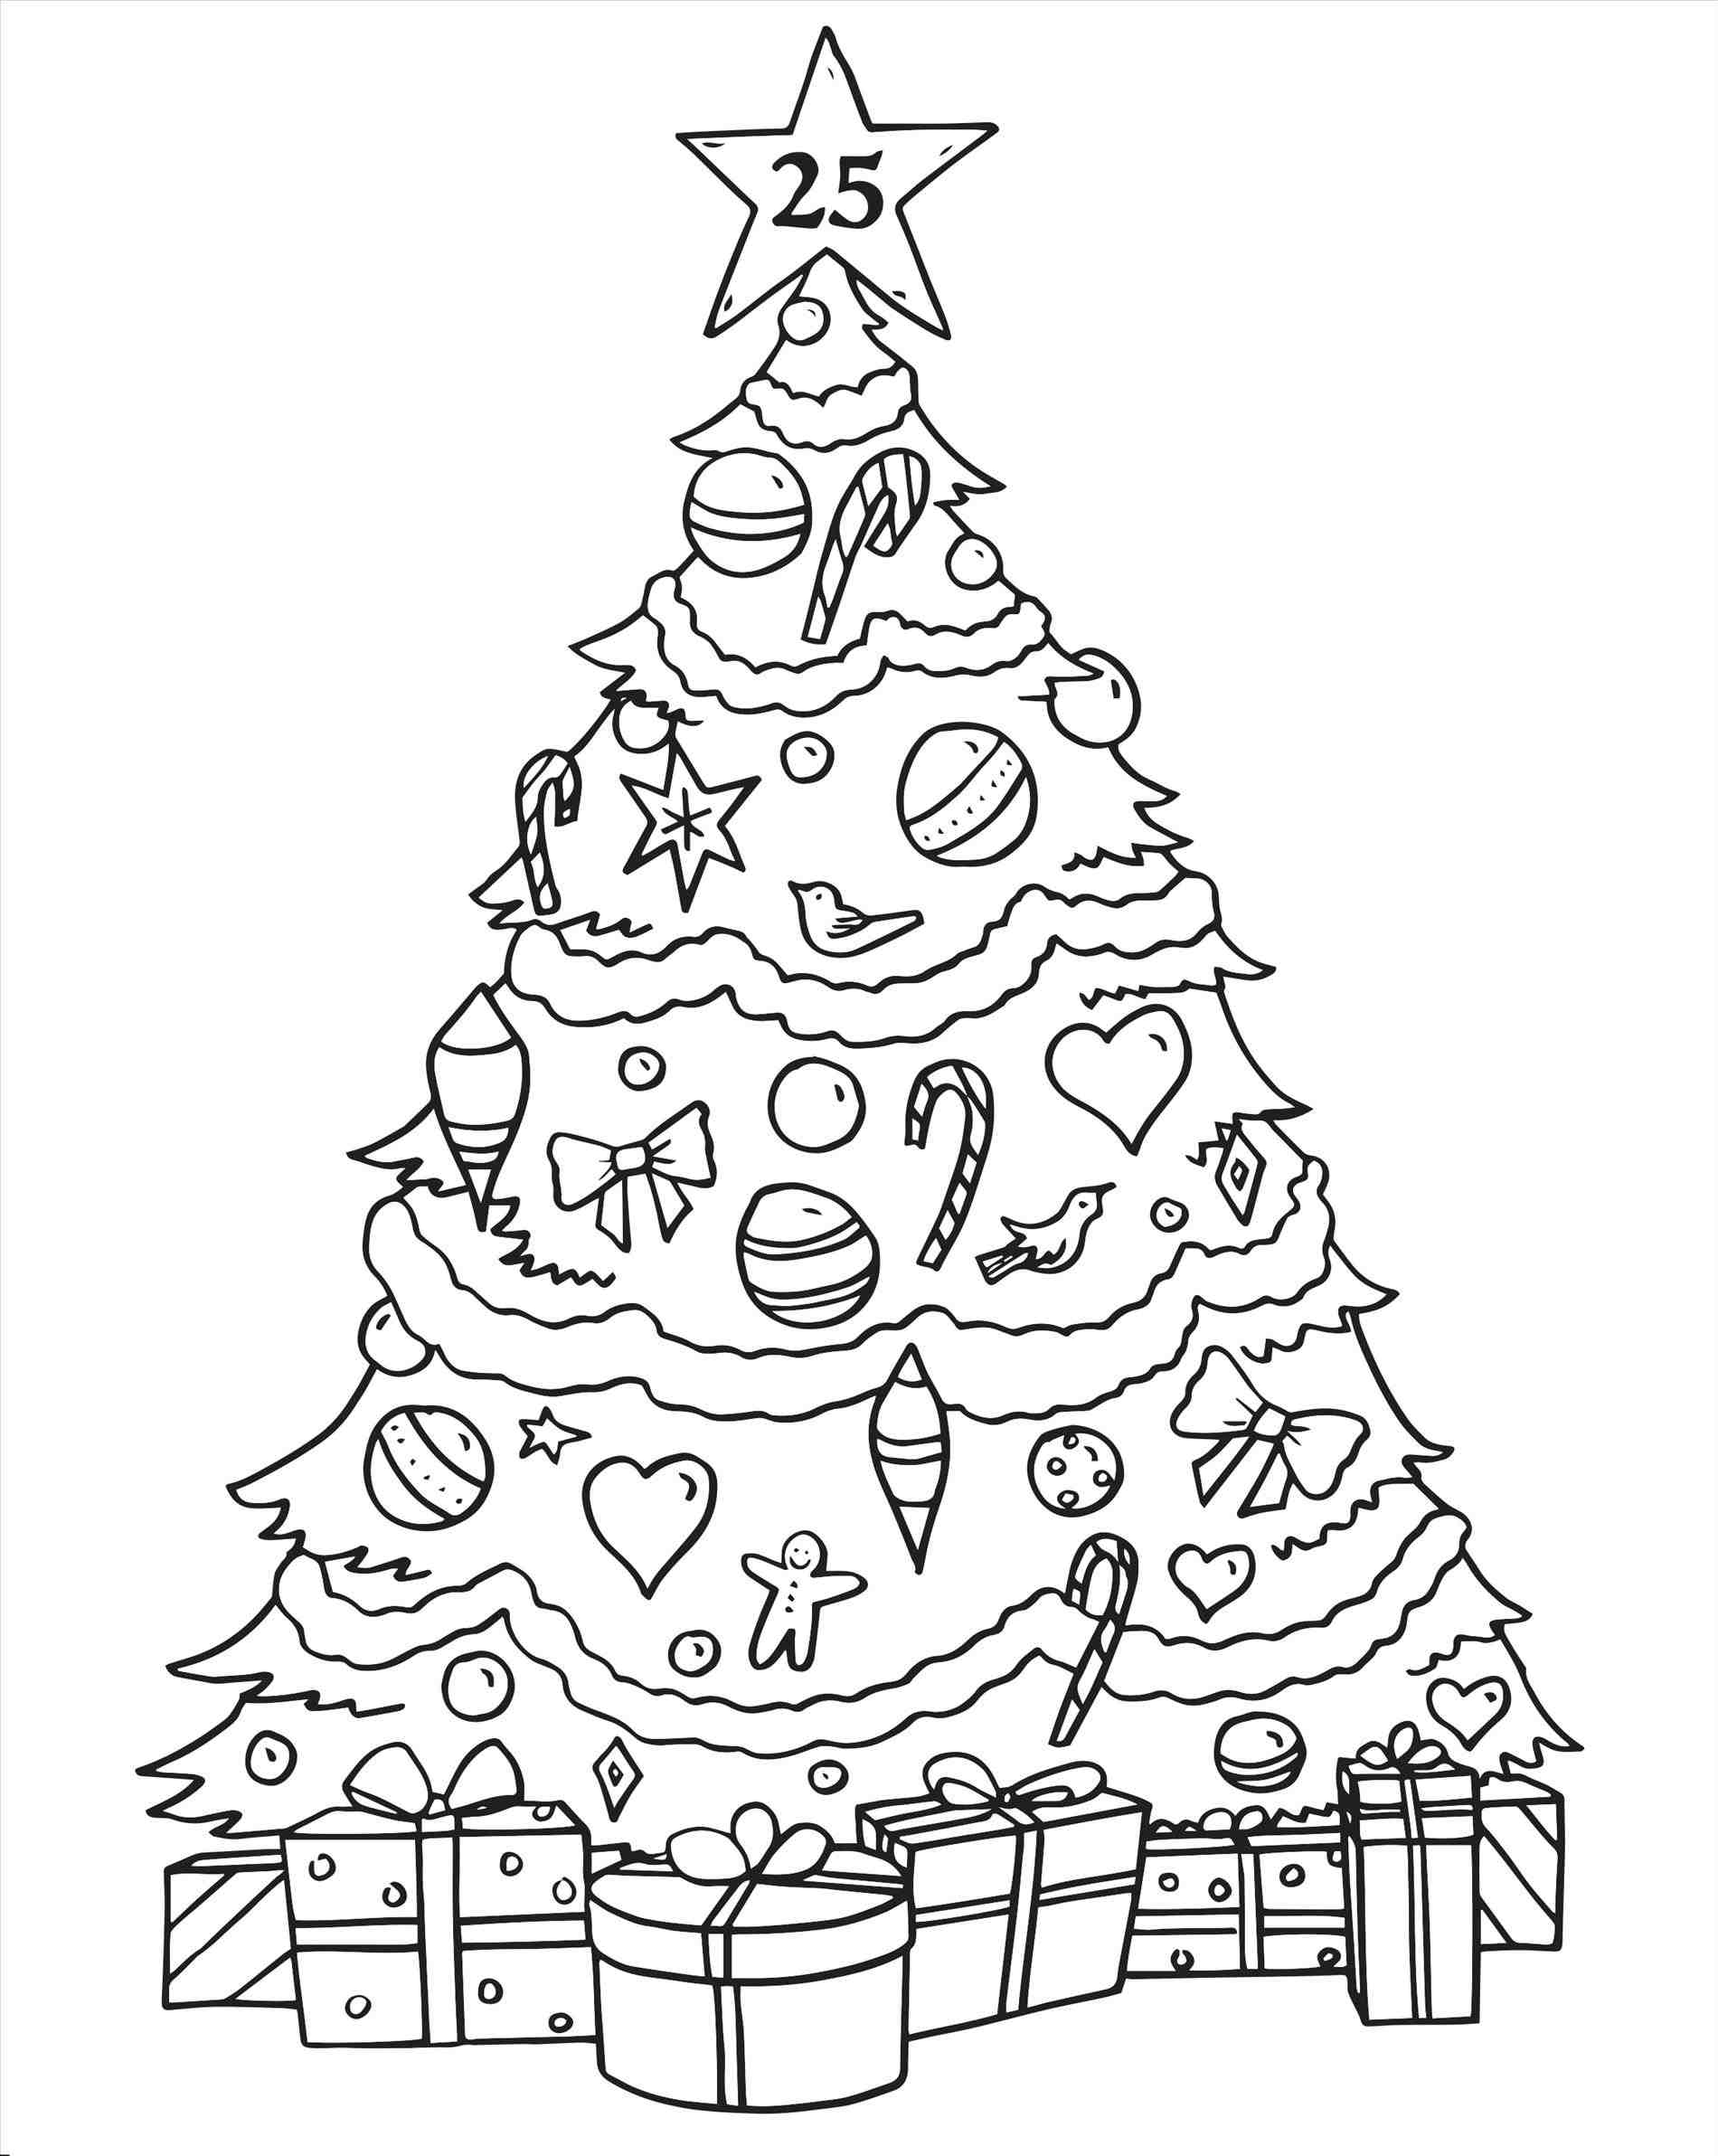
- Tree Shape: The tree is usually represented in a triangular shape, symbolizing the conical form of a natural evergreen.
- Branches: Branches are drawn extending outward from the trunk, with each layer slightly larger than the one above.
- Decorations: Ornaments, lights, and garlands add festive flair to your drawing.
- Tree Topper: A star or angel is often placed at the top of the tree.
- Base: The trunk and base can be depicted with a tree stand or a decorative skirt.
Choosing Your Style
When it comes to Christmas tree drawing, there are various styles to consider. Here are a few popular options:
- Realistic: Capture the essence of a real tree with detailed branches and lifelike decorations.
- Cartoonish: Use exaggerated features and bright colors for a fun and whimsical appearance.
- Minimalist: Focus on simplicity with clean lines and minimal decorations.
- Abstract: Experiment with shapes and patterns to create a unique interpretation of a Christmas tree.
Step-by-Step Guide to Drawing a Christmas Tree
Step 1: Sketch the Outline
Begin by lightly sketching a triangular shape to serve as the framework for your tree. This will guide the placement of branches and decorations.
Step 2: Add Branches
Starting from the top, draw horizontal lines extending from the trunk. Gradually increase the length of these lines as you move downward to create the illusion of layers. Vary the angle and curvature of the lines to mimic natural branches.
Step 3: Define the Tree Trunk
Draw a vertical line in the center of the triangle to represent the trunk. Ensure it is proportionate to the size of your tree.
Step 4: Incorporate Decorations
Decorate your tree with a variety of elements such as baubles, tinsel, and lights. Use circles, ovals, and squiggly lines to depict these features. Feel free to get creative with colors and patterns.
Step 5: Add a Tree Topper
Draw a star, angel, or any other topper of your choice at the peak of the tree. This adds a finishing touch to your artwork.
Step 6: Create the Base
Complete your drawing by sketching a stand or a decorative skirt at the bottom of the tree. This grounds the tree and adds realism to your drawing.
Enhancing Your Christmas Tree Drawing
Once you have the basic structure in place, consider the following tips to elevate your Christmas tree drawing:
- Shading: Use shading techniques to add depth and dimension to your tree. Consider the light source and apply shadows accordingly.
- Texture: Create texture by adding small, repetitive lines to represent the needles of the tree.
- Color: Experiment with different color schemes to convey various moods and atmospheres.
- Background: Incorporate a background to set the scene. Snowflakes, presents, or a cozy fireplace can enhance the festive ambiance.
Personalizing Your Christmas Tree Drawing
One of the joys of drawing is the ability to infuse your artwork with personal touches. Here are some ideas to make your Christmas tree drawing uniquely yours:
- Family Ornaments: Include ornaments that hold sentimental value, such as family heirlooms or handmade decorations.
- Favorite Colors: Use colors that resonate with you or reflect your holiday traditions.
- Custom Tree Topper: Design a tree topper that represents your personality or interests.
- Message or Quote: Add a festive message or quote to your drawing to spread holiday cheer.
Drawing a Christmas tree is a wonderful way to express your creativity and celebrate the holiday season. By understanding the basic elements, exploring different styles, and following a step-by-step approach, you can create a beautiful and personalized Christmas tree drawing. Whether you’re crafting a realistic depiction or a whimsical interpretation, the key is to enjoy the process and let your imagination run wild. So grab your drawing supplies and start creating your own festive masterpiece today!